

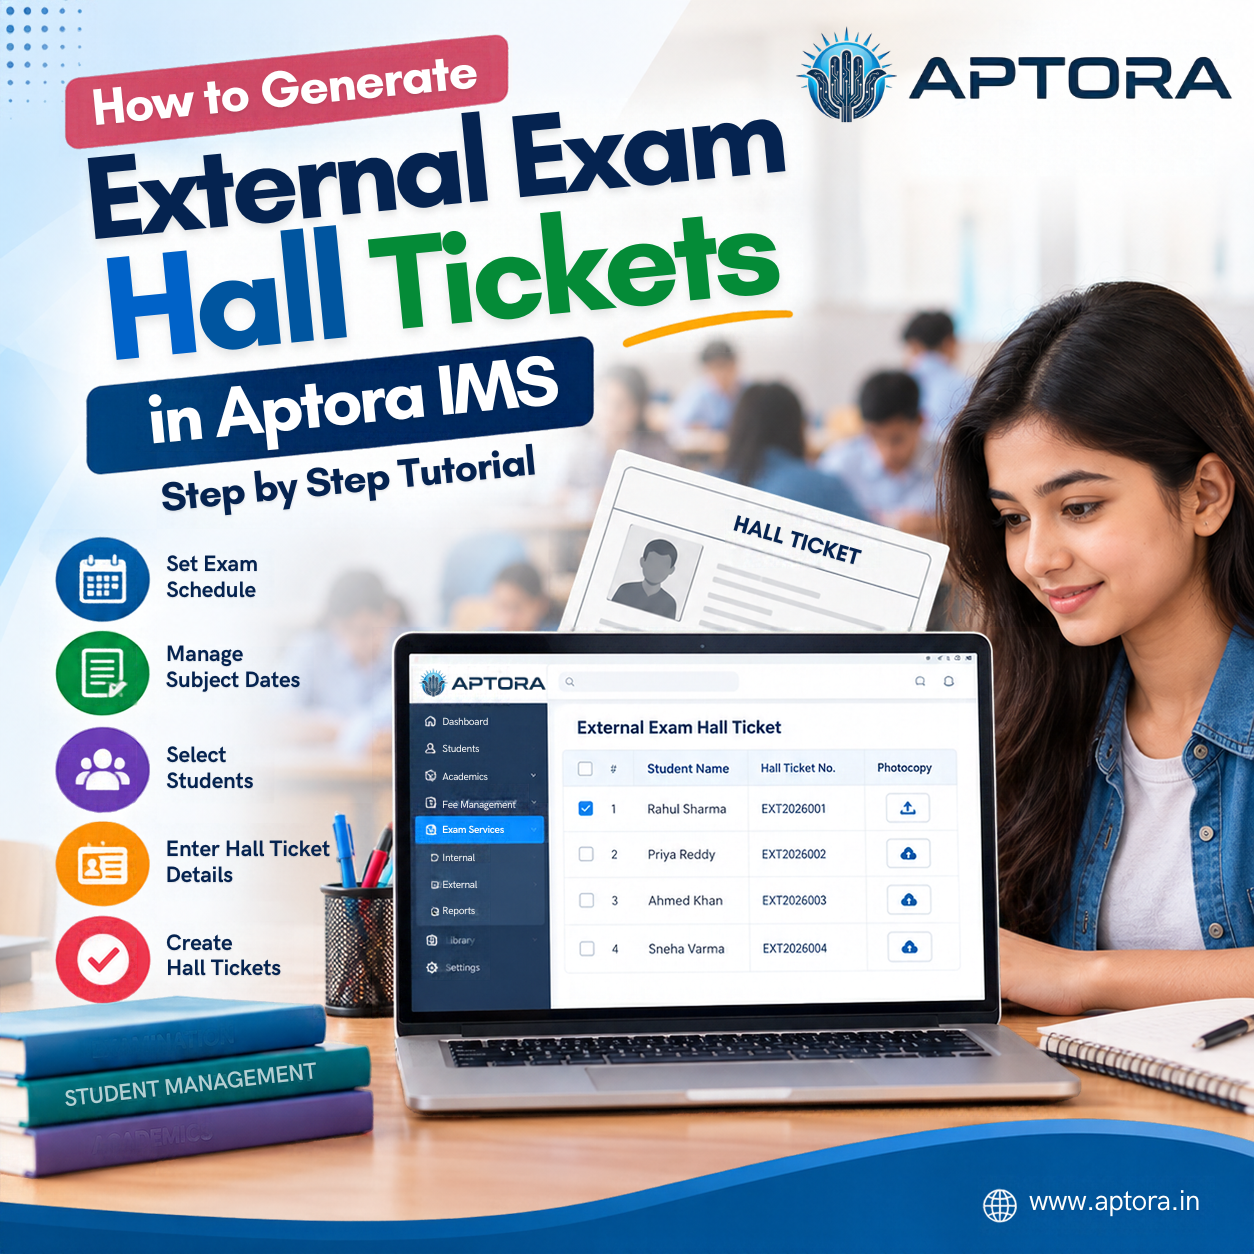
Introduction:
Managing
external examination hall tickets is an important task for schools and
colleges. Preparing hall tickets manually can take time and may lead to errors
in student details and examination information.
Aptora IMS (Institution Management System) helps educational
institutions manage examination-related activities through its examination
management features.
In this step-by-step tutorial, you will learn how to generate external exam hall tickets in Aptora IMS, making it easier to manage the hall ticket generation process for students.
Prerequisites:
Before generating external exam hall tickets in Aptora IMS,
make sure you have the following:
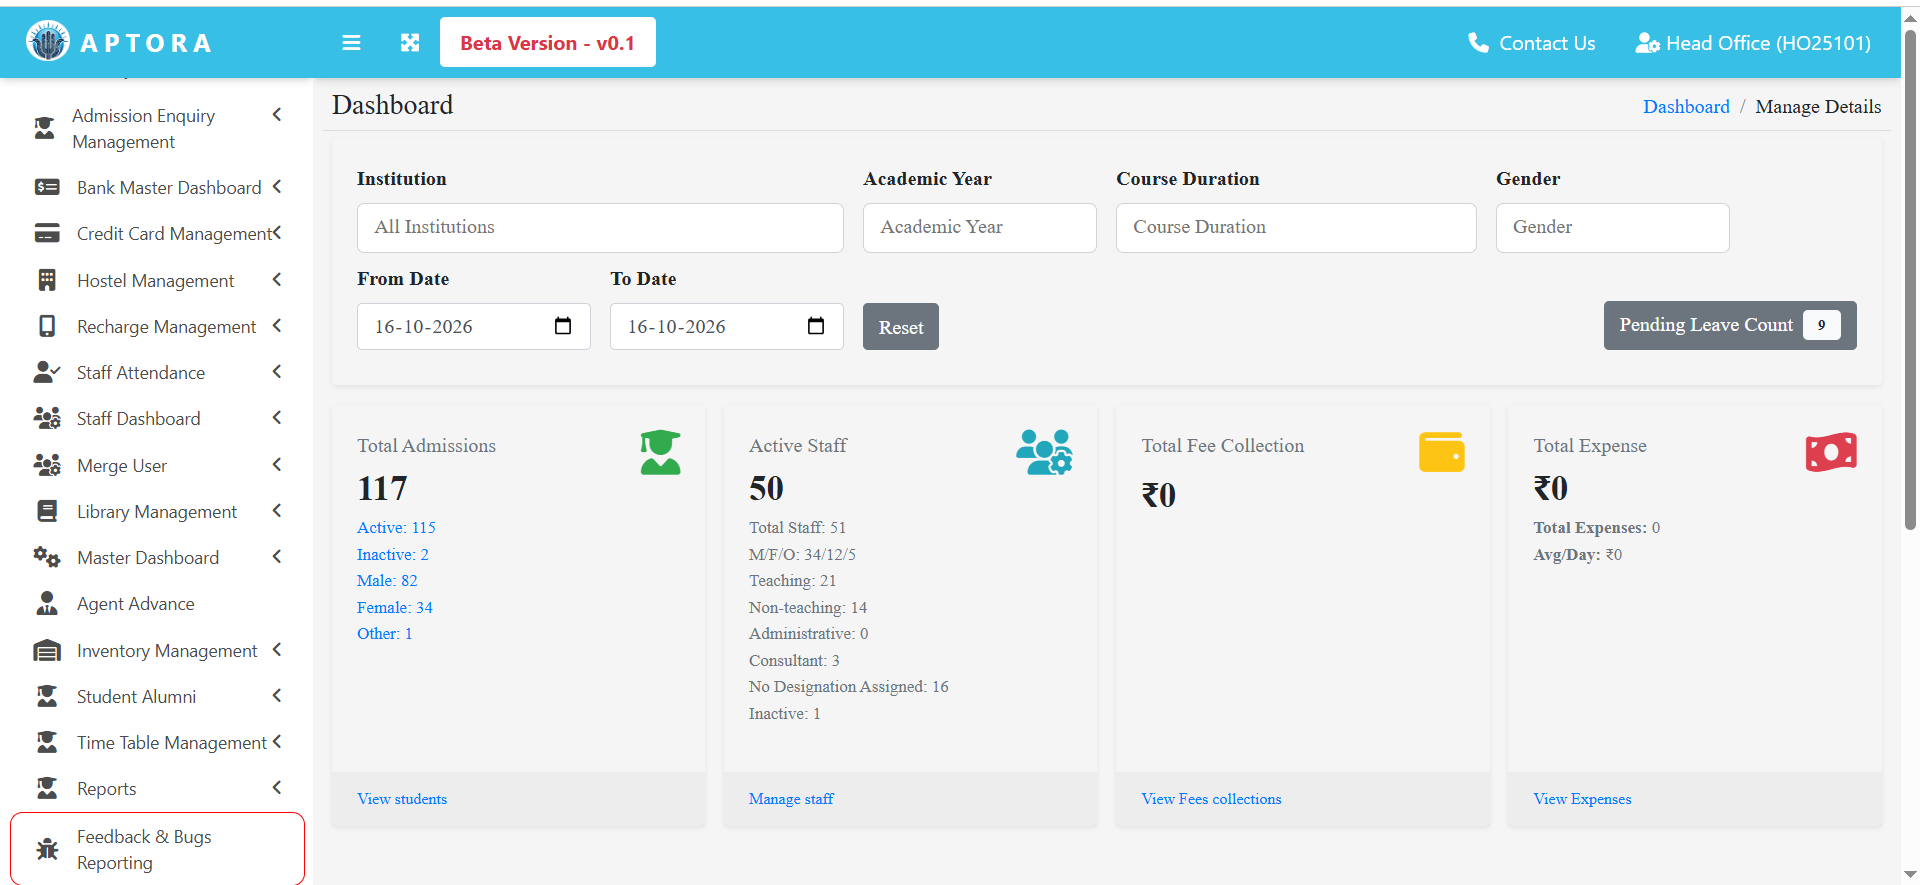
Step 1: Login to Aptora dashboard.
Step 2: Internal exam hall ticket.
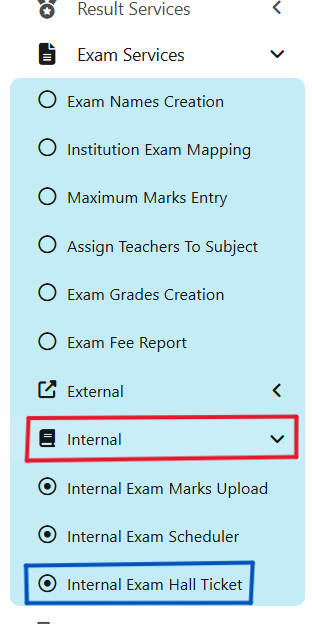
On the left sidebar, click on Exam Services.
Expand the Internal menu, navigate to Internal Exam Hall Ticket, and click on it.
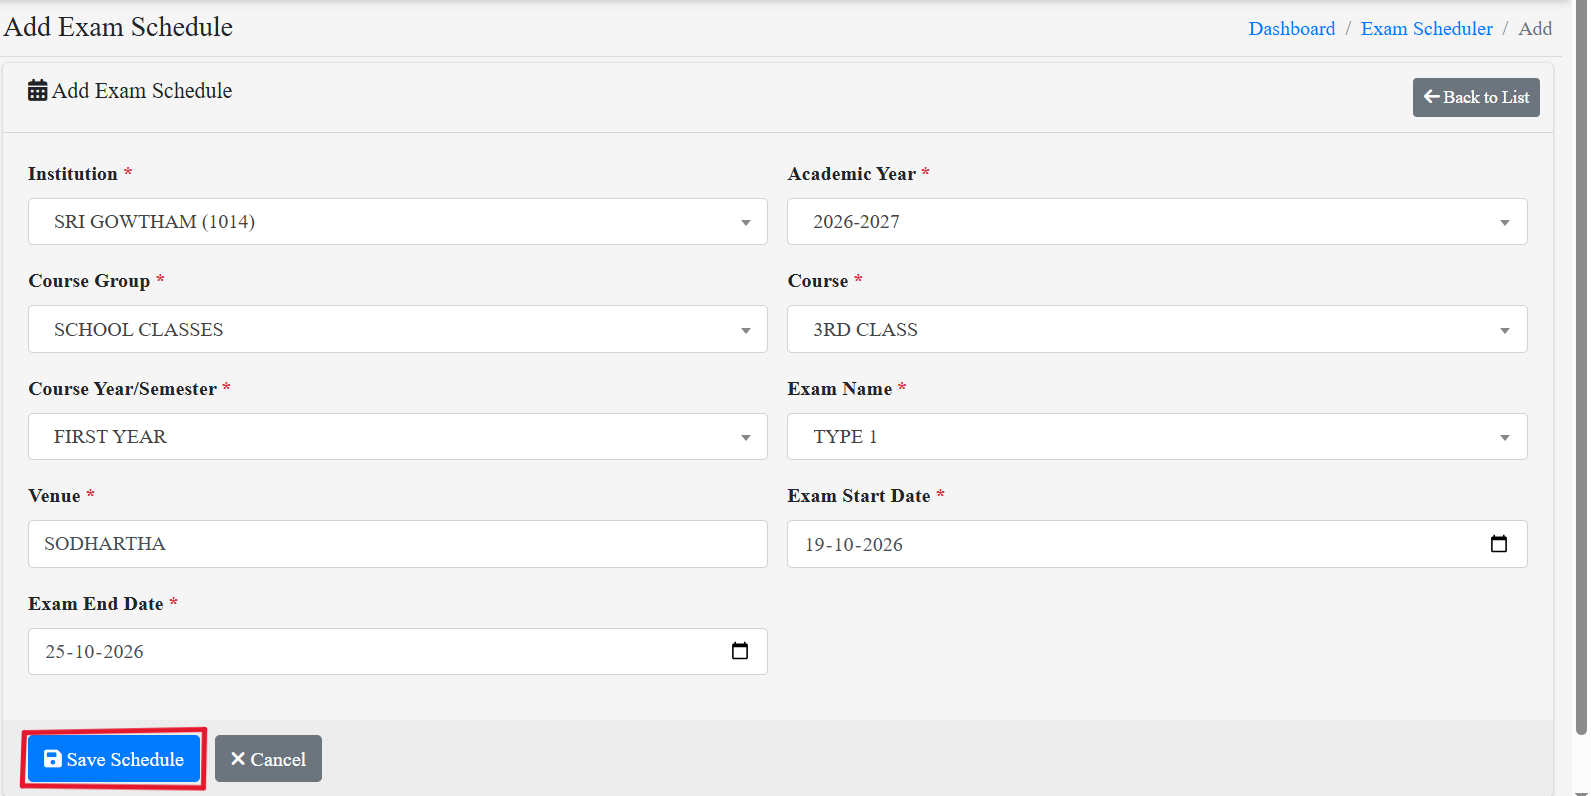
Click on add new schedule.
 Fill in the exam schedule form with the required details, then click Save Schedule.
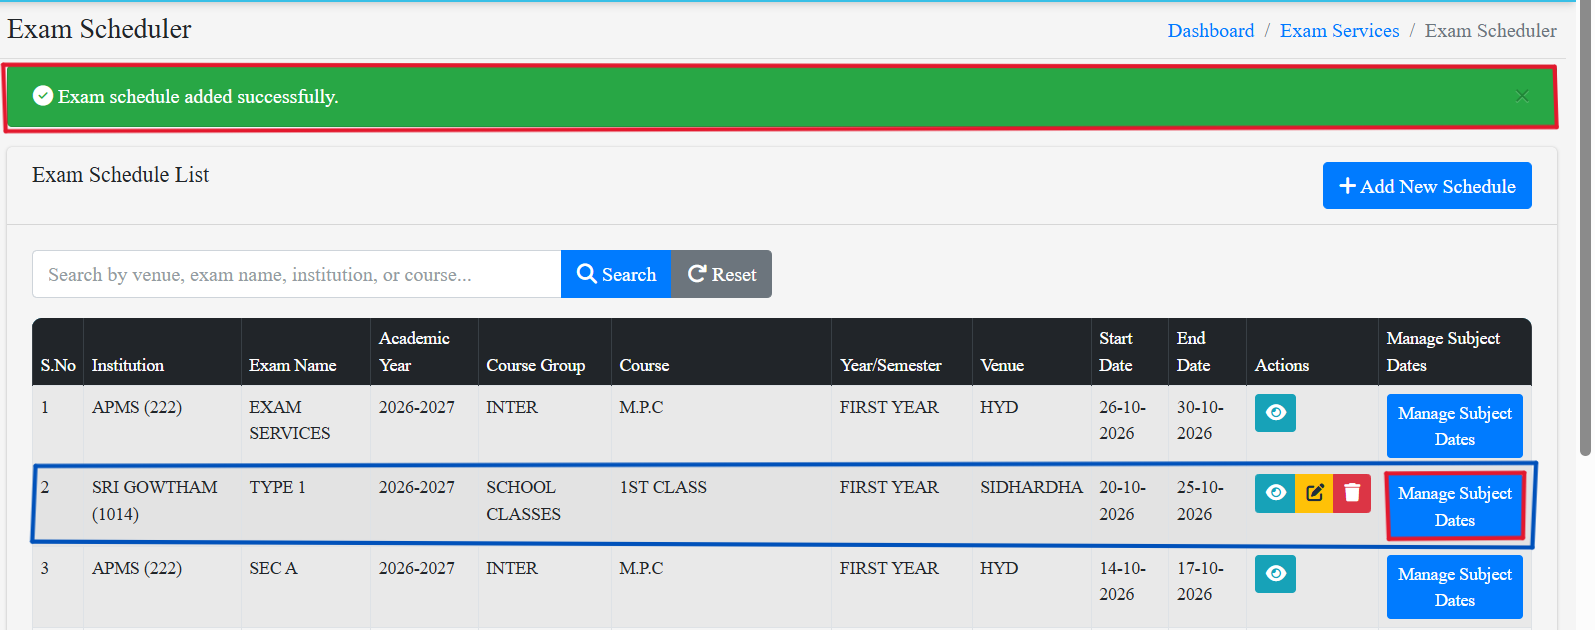
A notification will appear at the top of the screen displaying the message “Exam schedule added successfully.” The newly added institution will appear in the list below. Click on Manage Subject Dates next to the institution name.
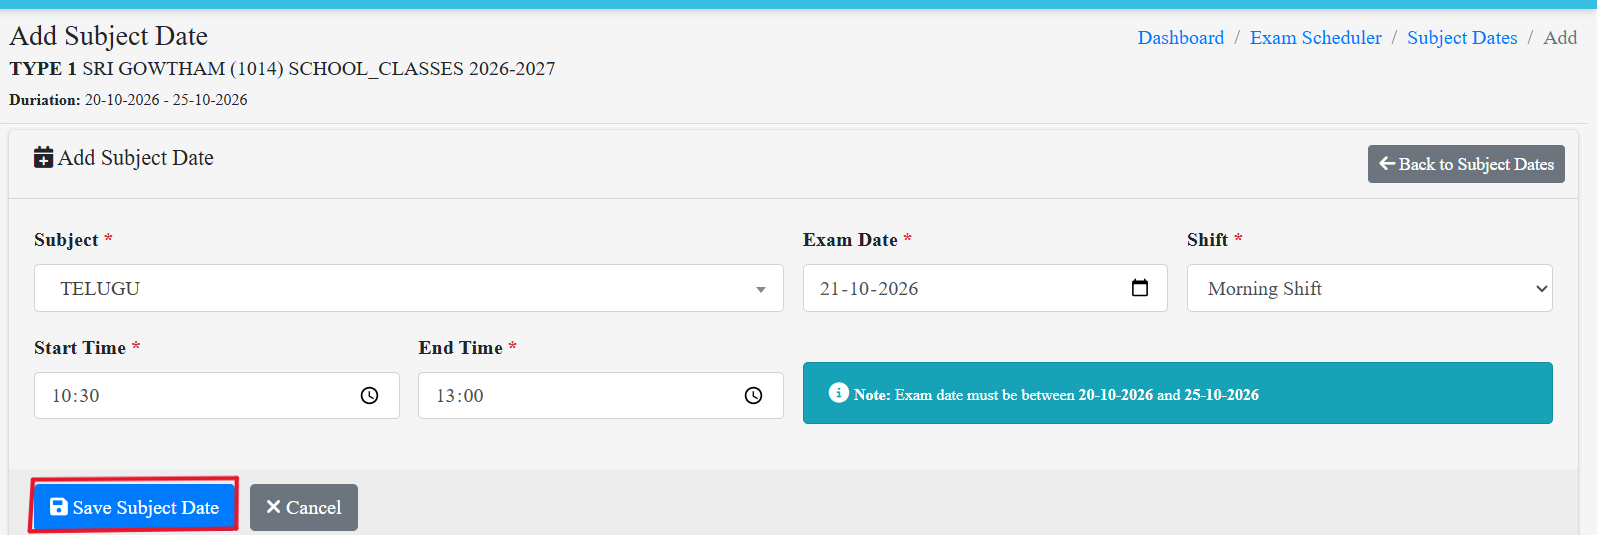
Click on Add Subject Date.

Enter the subject name, exam date, shift, start time, and end time, then click Save Subject Date.
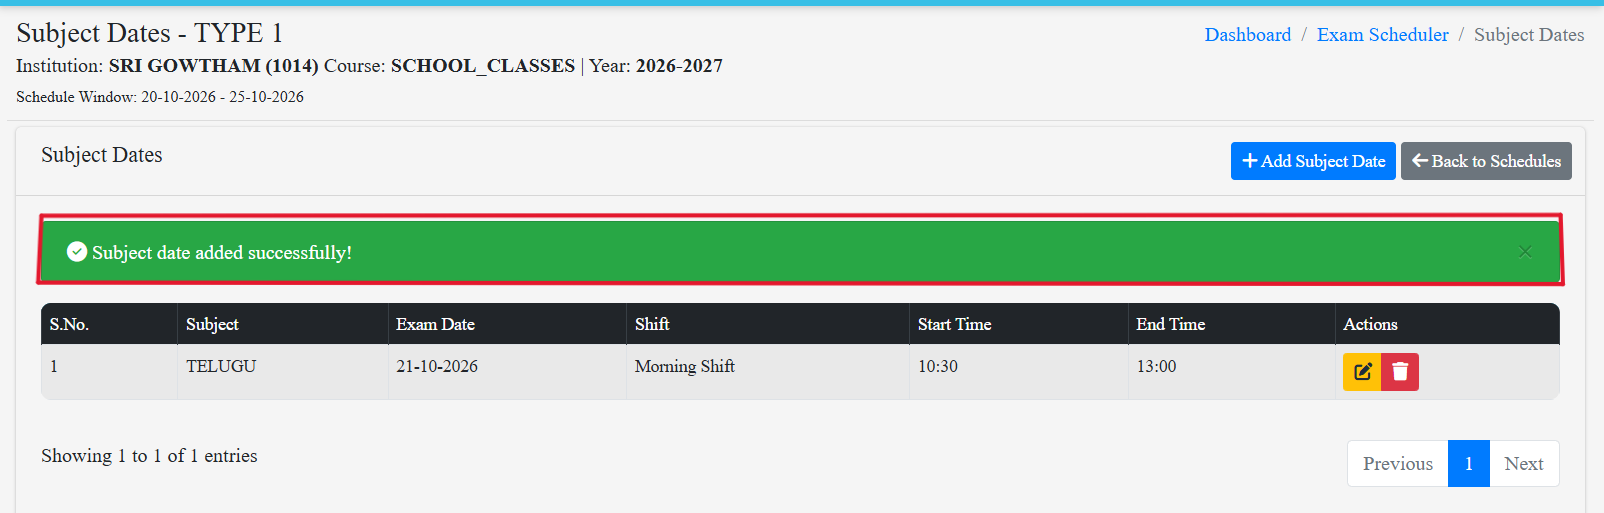
A notification will appear at the top of the screen displaying the message “Subject date added successfully.”
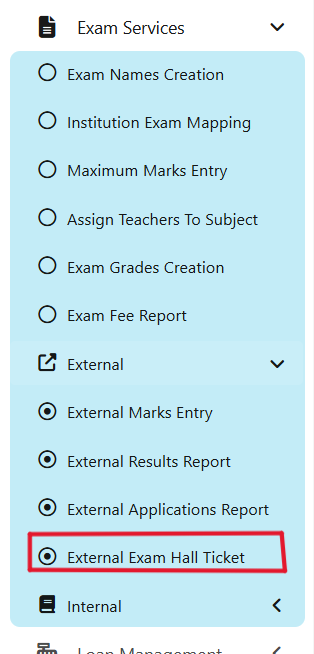
Step 3: External Exam Hall ticket.
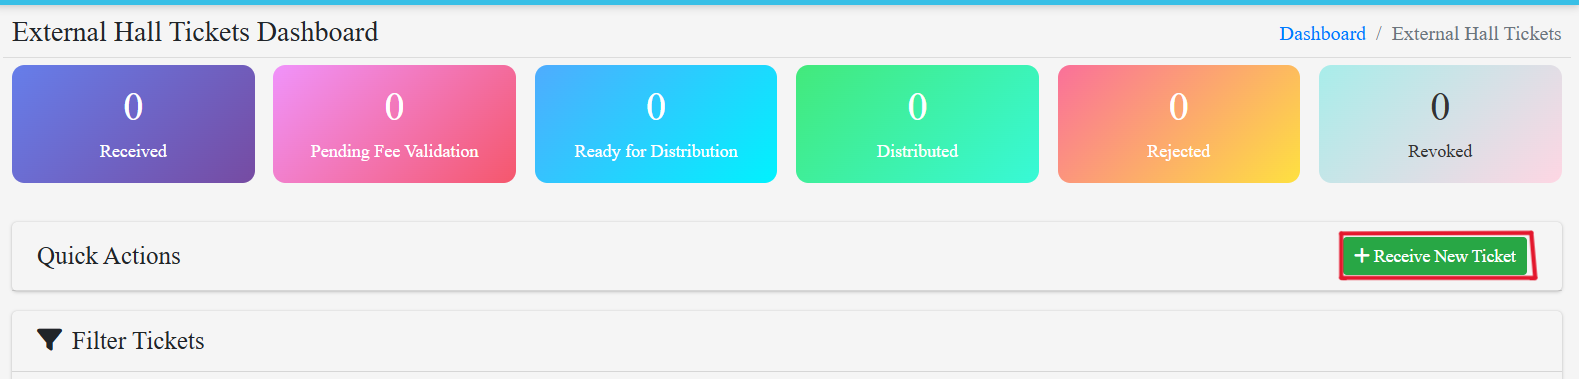
On the exam service menu select external and click on external exam hall ticket.
 Click on Receive New Ticket.
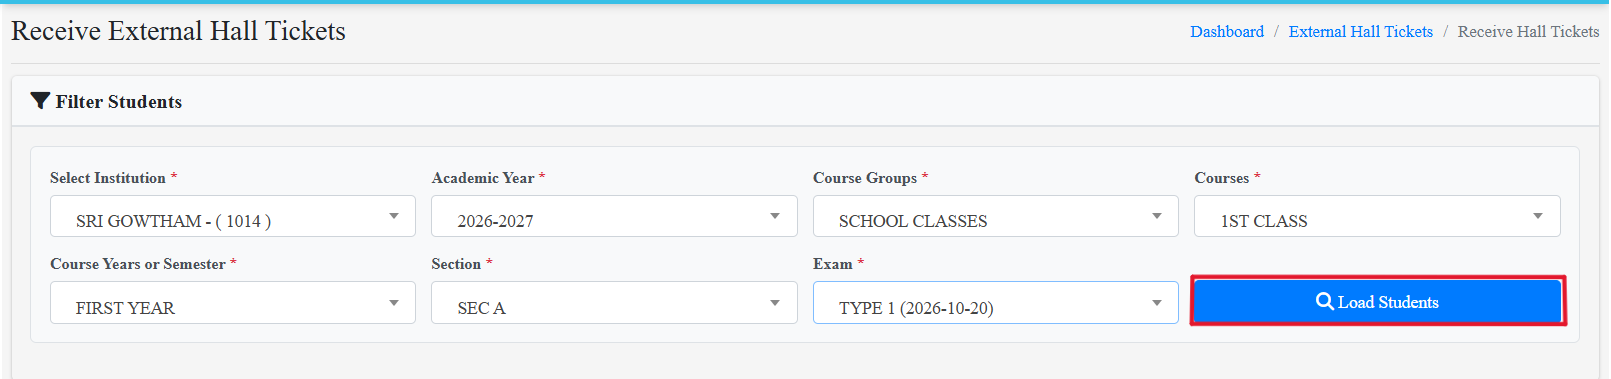
Fill the external hall ticket details and click on Load students.
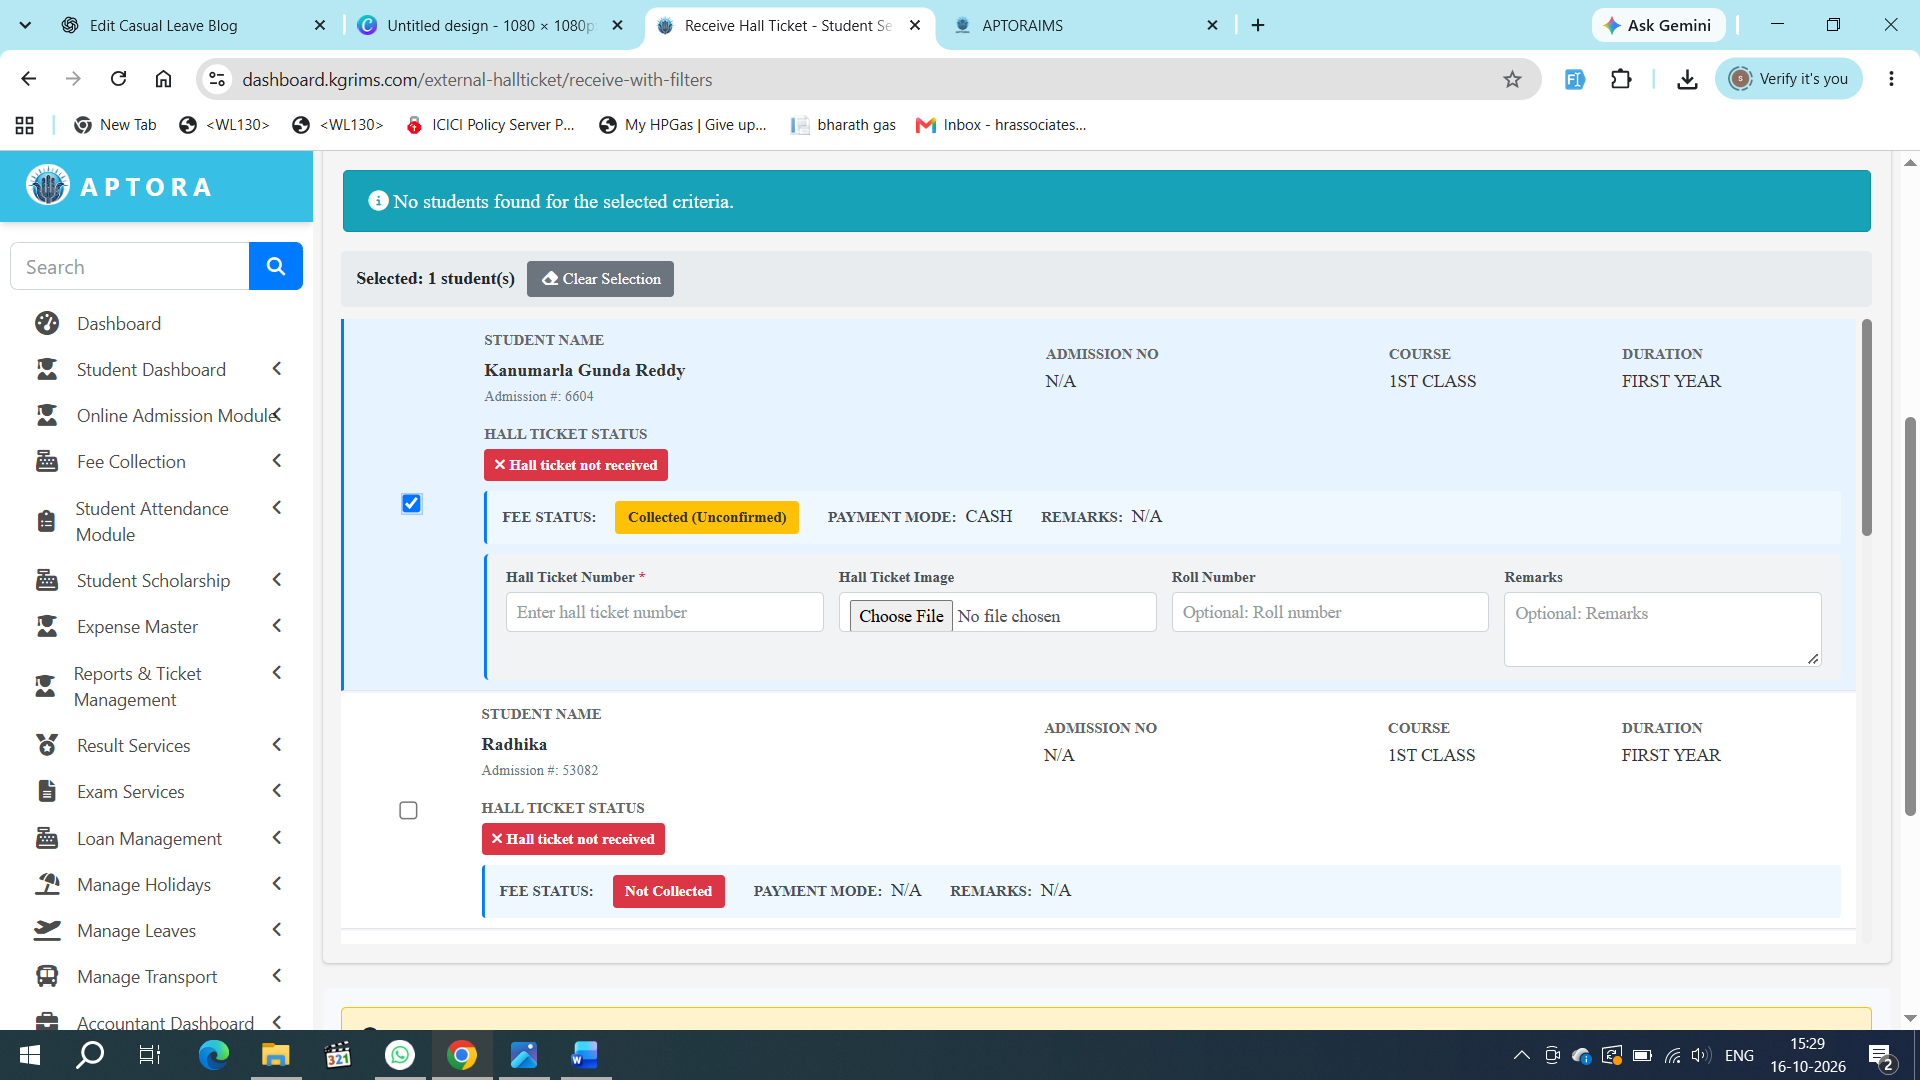
Select the checkbox next to the student’s name for whom you want to enter the hall ticket details. Enter the hall ticket number and upload the required photocopy. Then, fill in the remaining details at the bottom of the screen and click Create Selected Hall Ticket.
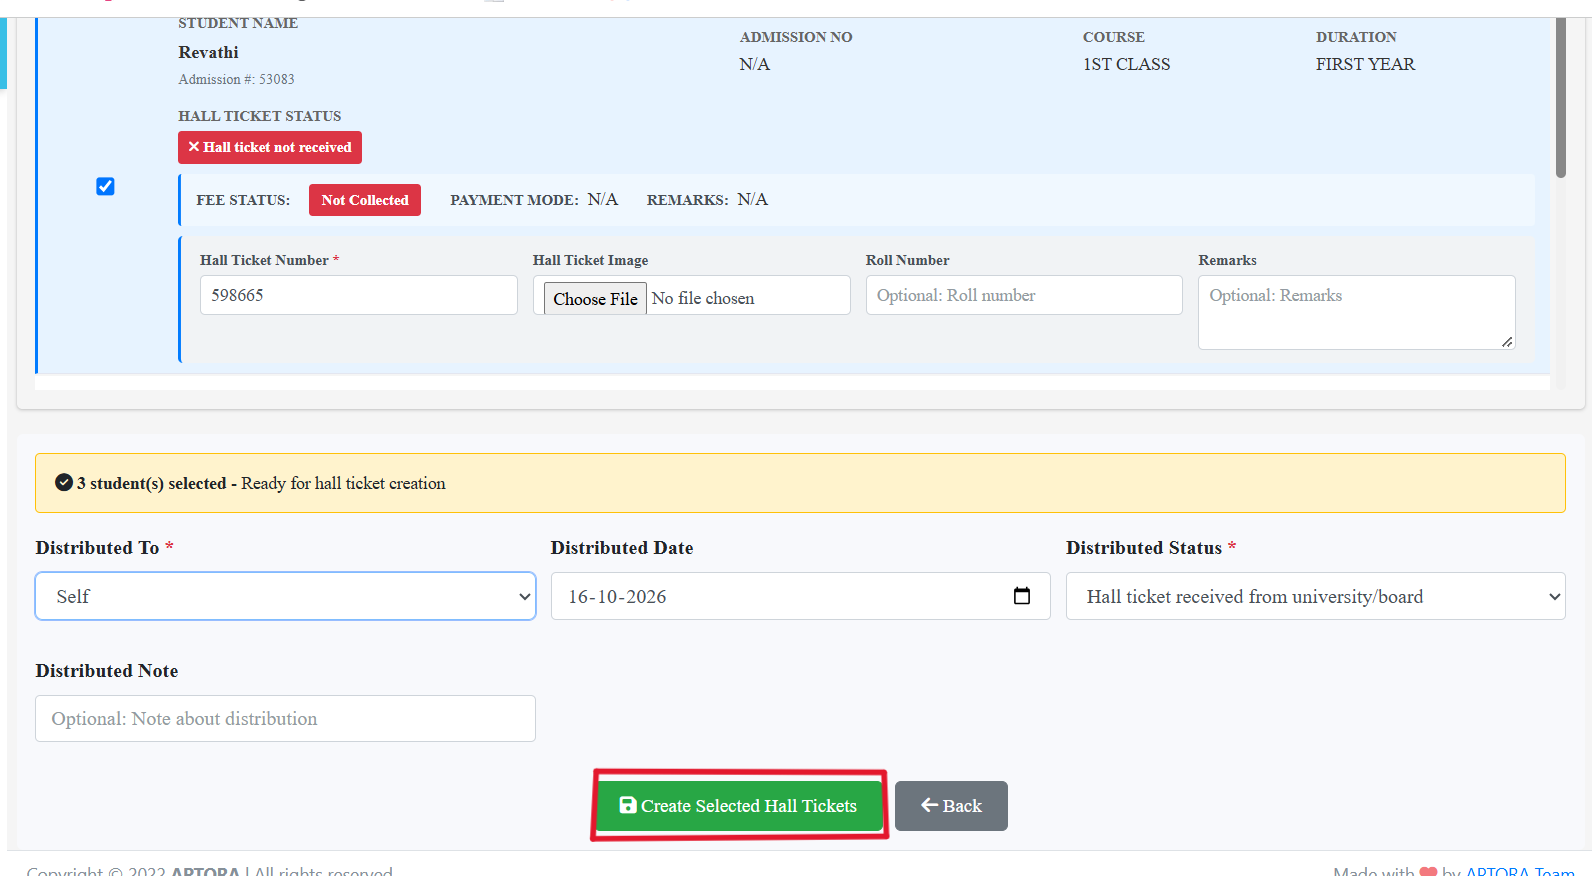
A Confirm Submission dialog box will appear. Click Yes, Create to proceed with generating the hall tickets.
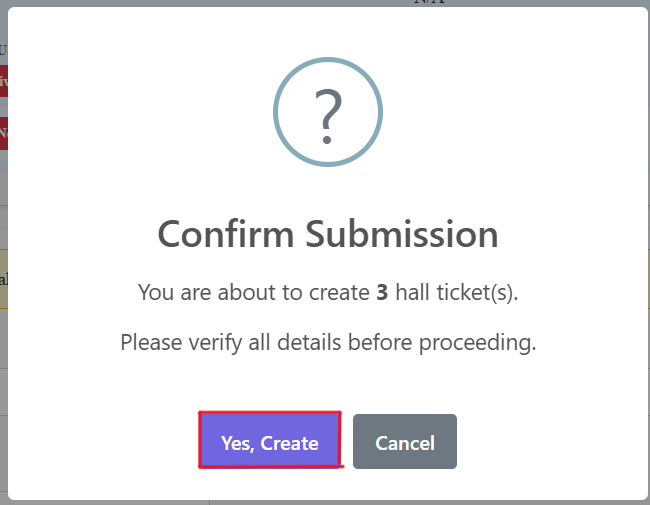
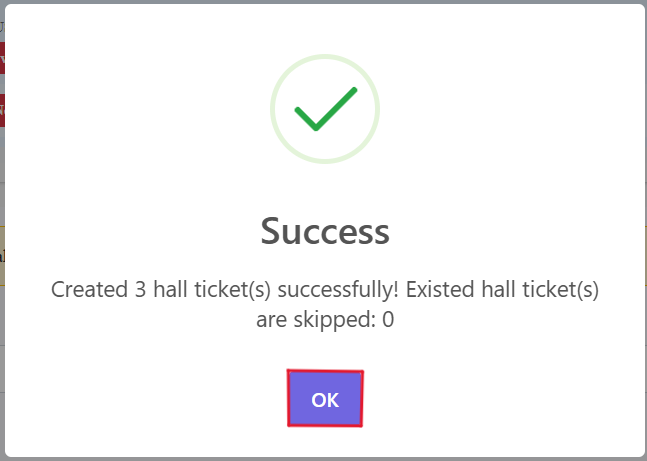
A notification box will then appear displaying the message "Success", confirming that the hall ticket creation has been completed.
Conclusion:
Generating external exam hall tickets in Aptora IMS helps educational institutions manage the hall ticket creation process in an organized manner. By following this step-by-step tutorial, you can configure the exam schedule and subject dates, select the required students, enter hall ticket details, and create the hall tickets successfully.
Aptora IMS simplifies examination-related administrative tasks, helping schools and colleges manage their examination processes more efficiently.
Related Tutorial: How to manage external exam services in aptora.
How to manage external exam services in Aptora IMS? Read our step-by-step guide:
https://www.aptora.in/blog/how-to-manage-external-exam-services-in-aptora-step-by-step-tutorial
📞 Ready to organize your classrooms better?
Talk to our expert or contact us for further queries