

Introduction
Managing external examinations can be challenging for
educational institutions when exam schedules, student information, subject
details, marks entry, and examination records are handled manually. These tasks
can consume valuable time and increase the chances of errors.
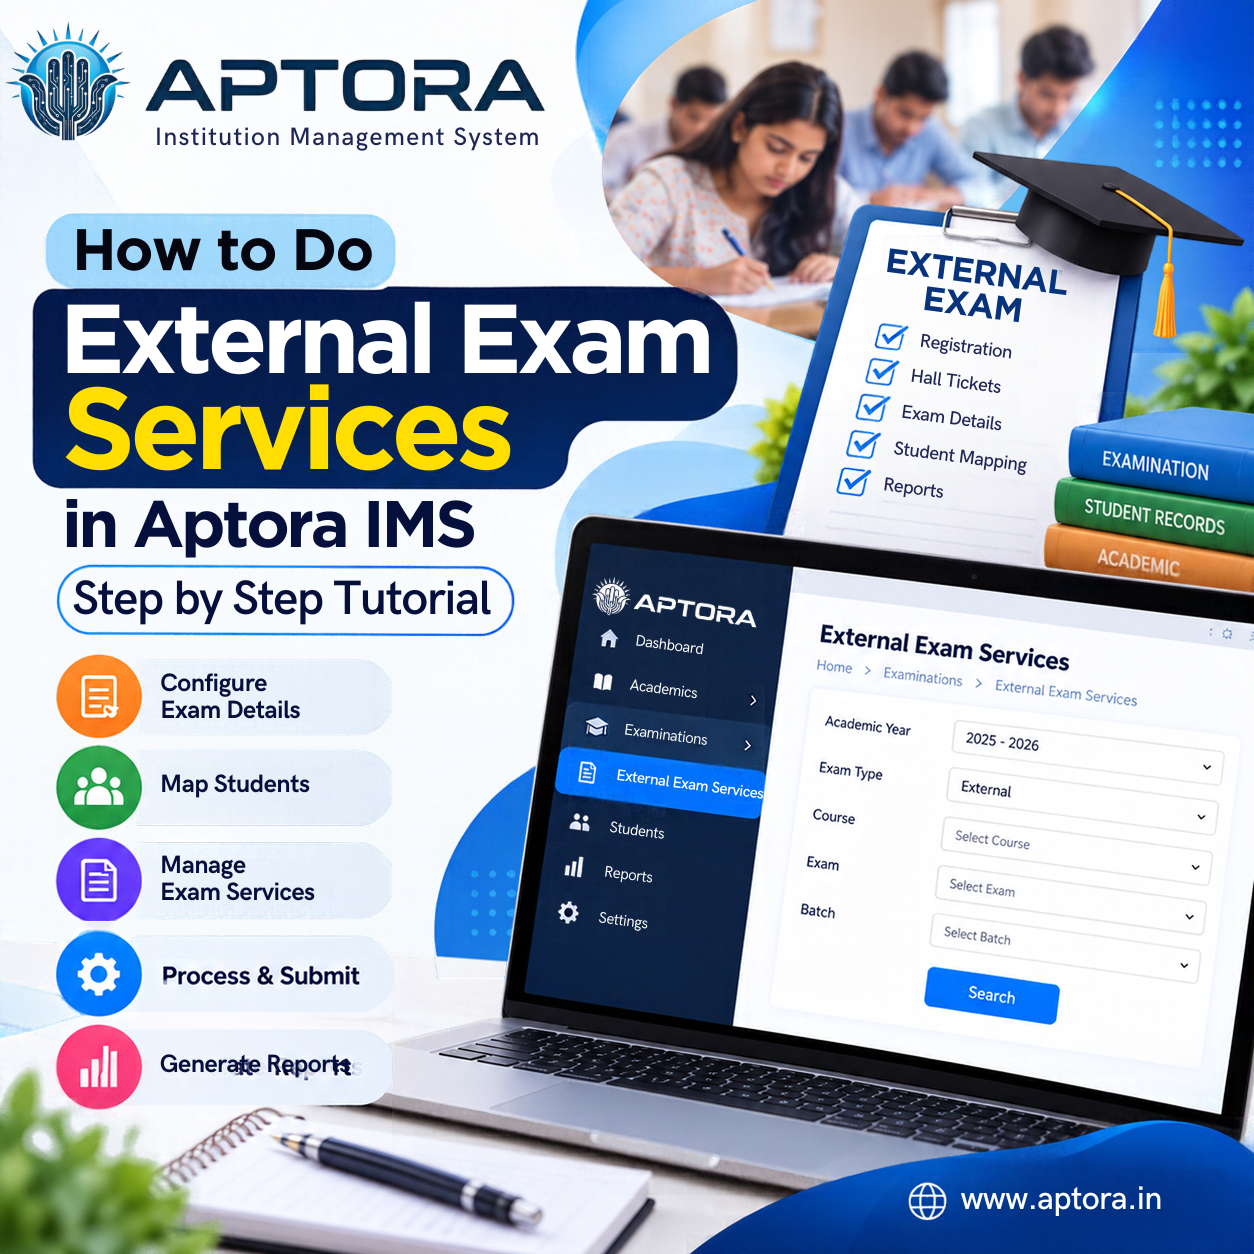
Aptora IMS (Institution Management System) simplifies
the process with its External Exam Services module, which helps institutions
organize examination details, map institutions and subjects, enter marks,
generate results reports, and manage supplementary, revaluation, and betterment
applications.
In this step-by-step tutorial, you will learn how to use the
External Exam Services module in Aptora IMS. From creating exam names to
generating external examination reports, this guide explains each step to help
administrators and staff manage examination activities in a more organized and
efficient way.
Prerequisites
Before starting the external exam management process in
Aptora IMS, make sure you have:
1. Completed the necessary institution and academic
configuration.
2. The required examination details and academic year
information.
3. The relevant institution, course, and subject details.
4. Student information and examination marks, where
applicable.
5. The necessary permissions to access the examination
management module.
Step 1: Exam Names Creation
The first step is
to create the exam name in Aptora IMS. This allows you to configure the
examination before proceeding with institution mapping and marks entry.
1. Log in to your Aptora IMS
dashboard.
2. Navigate to Exam Services
in the left-side menu.
3. Select Exam Names Creation.

4. Click Add Exam Name.

5. Fill in the exam form with the required details.
6. Click Submit.

After submitting the form, a notification will appear at the
top of the screen confirming that the exam name has been saved successfully.

Step 2: Institution Exam Mapping
After creating the
exam name, map the examination to the relevant institution. This step helps
associate the exam with the appropriate institution and its examination
details.
1. Navigate to Exam Services.
2. Select Institution Exam Mapping.

3. Enter the required institution and examination details.
4. Complete the institution mapping form.
5. Click Submit.
Ensure that the details are correct before
submitting the form.


Step 3: Course and Subject Mapping
Course and
subject mapping helps associate the relevant subjects with the selected
examination and course.
Follow these steps:
1. Navigate to Course and Subject Mapping from the
dashboard.
2. Fill in the required institution, course, and examination
details.
3. Click Get Details.


4. Select Add Subject Mapping.
5. Enter the details of the subject you want to add.
6. Click Submit.


After submission, a notification will appear at the top of
the screen. You can also verify the newly added subject at the bottom of the
page.

Step 4: Maximum Marks Entry
Before
entering students' external examination marks, configure the maximum marks and
pass marks for each subject.
1. Navigate to Exam Services.
2. Select Maximum Marks Entry.
3. Fill in the required institution and examination details.
4. Click Submit.


5. Select Add Subject Marks.
6. Enter the maximum marks and pass marks for the relevant
subject.
7. Click Save Marks.


A confirmation message stating that the marks have been
saved successfully will appear on the screen.
Repeat the process for the other subjects as required.

Step 5: External Marks Entry
Once the maximum marks are configured, you can enter
students' external examination marks.
1. Navigate to Exam Services.
2. Select External.
3. Click External Marks Entry.

4. Fill in the required details.
5. Click Load Students.

6. Select the student or students for whom you want to enter
marks.
7. Enter the marks obtained in each relevant subject.
8. Click Save Selected Students.

After saving the marks, a notification will appear
confirming that the marks have been added successfully.
Tip: Verify the marks entered for each student before
saving to help maintain accurate examination records.

Step 6: External Results Report
The External
Results Report allows you to view students' external examination results and
initiate applications for revaluation, supplementary examinations, and
betterment, where applicable.
How to Generate the External Results Report
1. Navigate to Exam Report.
2. Select External.
3. Click External Results Report.
4. Fill in the required institution and examination details.
5. Click Generate Report.


The system will display the generated examination report.
From this screen, you can access the available options for Revaluation,
Supplementary, and Betterment.
How to Apply for a Supplementary Examination
If a student needs to apply for a supplementary examination,
follow these steps:
1. Click Apply Supplementary.
2. Select the subject for which the student wants to apply.

3. Enter the Actual Fee and Committed Fee.
4. Click Apply Fees To Selected.
5. Verify that the fees have been generated for the selected
subject.
6. Click Submit Selected Subject Fees.
7. A notification box will appear. Click Submit
Application.
8. Wait for the confirmation message indicating that the
supplementary application has been submitted successfully.
How to Apply for Revaluation and Betterment
You can follow a similar process to submit applications for Revaluation
and Betterment.
1. Open the External Results Report.
2. Select the appropriate application option.
3. Choose the relevant subject.
4. Enter the required fee details, where applicable.
5. Apply the fees to the selected subject.
6. Submit the selected subject fees and confirm the
application.
Make sure you review the subject and fee details before
submitting each application.


How to Apply for Revaluation and Betterment
You can follow a similar process to submit applications for Revaluation
and Betterment.
1. Open the External Results Report.
2. Select the appropriate application option.
3. Choose the relevant subject.
4. Enter the required fee details, where applicable.
5. Apply the fees to the selected subject.
6. Submit the selected subject fees and confirm the
application.
Make sure you review the subject and fee details before
submitting each application.
Step 7: External Application Report
The External Application Report helps administrators review
applications submitted for supplementary examinations, revaluation, and
betterment.
How to View the External Application Report
1. Navigate to Exam Services.
2. Select External.
3. Click External Application Report.

4. Choose the required academic year.
5. Select the student status.
6. Click View Report.
The report displays the relevant examination application
details, helping you identify which students or classes have applied for
supplementary examinations, revaluation, or betterment.

How to View and Export Student-Wise Reports
If you want to review applications for individual students:
1. Open the External Application Report.
2. Click View Student.
3. Review the student-wise application details.
4. Export or download the report in the available formats: Excel,
CSV, or PDF.
These export options help administrators maintain records,
review applications, and share examination-related information when needed.


Benefits of Using External Exam Services in Aptora IMS
Using the External Exam Services module can help educational
institutions:
Conclusion
Managing
external examinations becomes more organized when exam configuration,
institution mapping, subject mapping, marks entry, results reporting, and
examination applications follow a structured process.
With the External
Exam Services module in Aptora IMS, administrators and staff can manage
these activities from a centralized system, access relevant reports, and
maintain examination records more efficiently.
Follow this tutorial to get started with external exam management in Aptora IMS and make your institution's examination workflow easier to manage.
Related Tutorial: How to Create Attendance Level Entry in
Aptora IMS
Looking to manage attendance-related activities in Aptora
IMS? Read our step-by-step guide:
https://www.aptora.in/blog/how-to-create-attendance-level-entry-in-aptora-step-by-step-tutorial
📞 Ready to organize your
classrooms better?
Talk to our expert or contact us for
further queries